Formulas for perfect shots and camera moves
Albert Einstein once wrote to Charlie Chaplin: “Your film The Gold Rush is understood all over the world, and you will definitely become a great man.” To which Chaplin replied: “I admire you even more. Your theory of relativity is understood by no one in the world, and yet you have become a great man.”
Composer Ludwig van Beethoven once said that art and science elevate man to divinity. In the world of cinema, this idea takes on a unique meaning: behind every frame, every dynamic angle, and magical special effect lies precise mathematical calculation. From the optimal aspect ratio to calculating the trajectory of camera movements, math transforms abstract ideas into vivid, breathtaking scenes.
As we dive into the fusion of science and creativity, we begin to see how the strict laws of numbers set the tone for visual harmony. Exact calculations form the foundation of shooting dynamics and frame composition, turning technical parameters into emotional experiences for the viewer. Thus, the world of cinema gains a new dimension, where every detail—from lighting to movement—is fine-tuned to perfection with the help of mathematical principles.
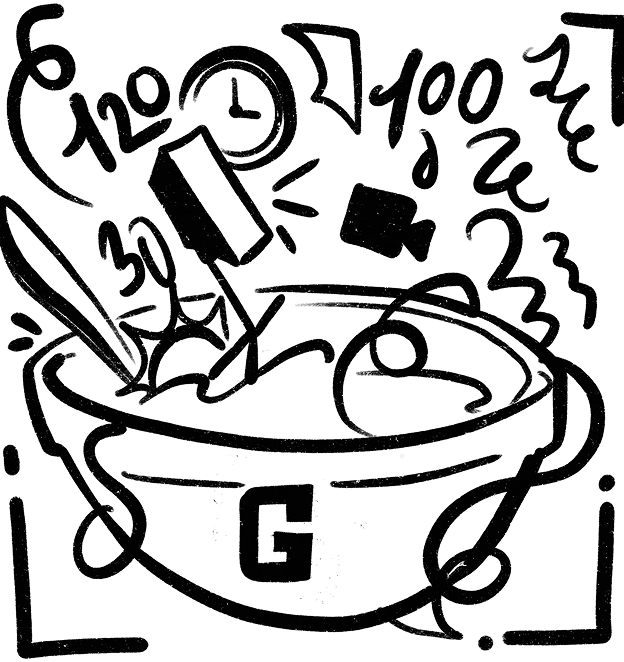
RECIPE FOR THE PERFECT SHOOTING PLAN
Serving:
A shaken, not stirred filming process
Prep time:
50 shooting days (for an average 120-minute film)
Health benefits:
· Saves budget
· Prevents schedule delays
· Protects from chaos on set
· Optimizes use of daylight
INGREDIENTS:
· 120 minutes of runtime – the base of your future film
· 100 scenes – for a rich narrative
· 5 takes per scene – for the perfect shot
· 30 minutes for equipment setup – to avoid blurry frames
· 20 minutes to shoot each scene – the main cooking time
· 11 hours of daylight – for natural lighting
· 1–2 hours of morning prep – to keep things running smoothly
· 6–8 hours of core work – to create magic on set
· 1 hour of break time – so the team doesn’t burn out
COOKING INSTRUCTIONS:
Prepare the base:
Take the 120-minute runtime and evenly distribute it over 100 scenes. Ideally, each scene will last around 72 seconds. Complex scenes may take longer, while dialogue scenes may require less.
Add time adjustments:
Pour in 5 takes per scene, with each take taking about 2 minutes. Stir until the average time to shoot one scene reaches 10 minutes.
Include technical breaks:
Mix in 30–40 minutes for setting up cameras and lighting, then add 20 minutes of active shooting. Blend until each scene amounts to a 50-minute filming process.
Season with daylight: outdoor scenes should be divided into 2-hour daylight segments, allowing for 5 scenes to be “cooked” per day.
Layer your shooting day:
·️ Place 1–2 hours of morning prep at the bottom of the film reel
· Add 6–8 hours of principal photography on top
· Gently spread a few hours of rest for the crew across the day
Final tweaks and editing:
Carefully mix the ingredients and repeat the process 50 times. The result should be 120 minutes of finished film, averaging 2 minutes of usable footage per day.
Caution:
· Even the most precise calculations don’t always guarantee a perfect outcome
· Unexpected weather, equipment breakdowns, and other surprises may occur
· New ideas or limitations might change the plan—or cancel shooting altogether
· The director may reshoot the same scene 10 times
· Someone on set might fall ill
· Actors might forget their lines
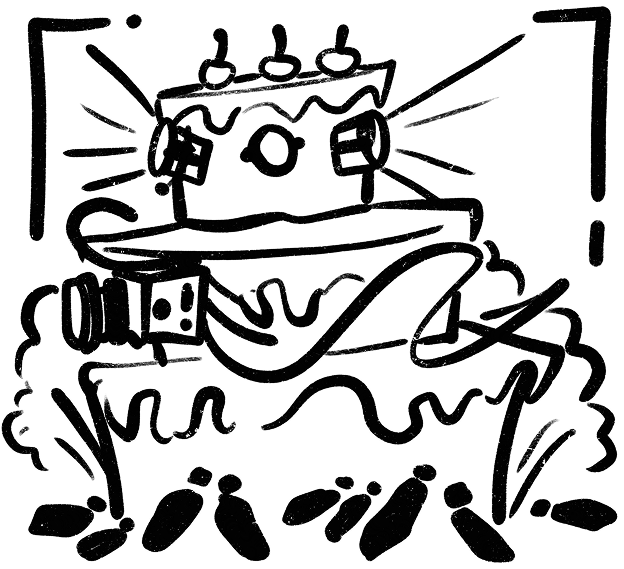
RECIPE FOR CINEMATIC ARCHITECTURE
Serving:
One perfectly constructed location
Prep time:
Depends on the scale of the scene and the number of special effects
Health benefits:
· Simplifies the work with visual effects
· Increases realism
· Creates the right atmosphere
· Building an entire city for filming may be far cheaper than renting a whole street
INGREDIENTS:
· Proper lighting for accurate visual perception
· Thoughtful camera movement for dynamic shots
· Clear actor pathways to ensure natural on-screen action
· A physics textbook and a grasp of essential laws for shooting special effects
· Scene construction and dismantling plans, considering every detail
COOKING INSTRUCTIONS:
Start with the lighting:
Take the blueprints of the future film set and study them carefully, keeping in mind possible lighting setups. Pay close attention to details: light angles, source placement, and how shadows interact with objects. You can add natural light or spice it up with artificial lamps to achieve the desired effect.
Add camera movements:
Mount the camera on stabilizers, cranes, or tracks, having calculated the path in advance. It’s important that the camera movement supports the scene’s concept and flows naturally with architectural elements. For long tracking shots, mark the camera’s path beforehand to avoid unexpected obstacles during shooting.
Gradually introduce the actors:
Gently integrate actors into the set, planning their movement in advance. In action scenes, season their routes with obstacles—columns, doorways, staircases—to add authenticity. At this stage, determine where the actor should be in the center of the frame and where they should disappear behind objects.
Sprinkle with physics and cue the explosion:
If the film involves collapsing buildings, object collisions, or other original special effects, precise engineering calculations are essential. Consider structural stability, object weight, and points of impact. Use computer simulations if needed to create visually impressive results.
Presentation:
Serve the dish to the director on a single plate, complete with well-planned shots and proper color correction. For viewers, this dish is best served with VFX graphics for maximum impact.
Caution:
· Unexpected shadows in the frame can ruin the composition
· The studio might cut the budget, leaving your structures too fragile
· The camera might accidentally catch the crew during a tracking shot
· Without the right calculations, a special effect could get out of control and become too realistic
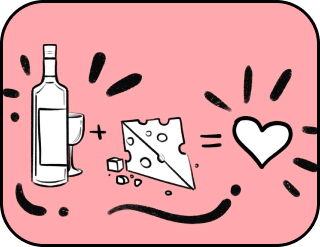
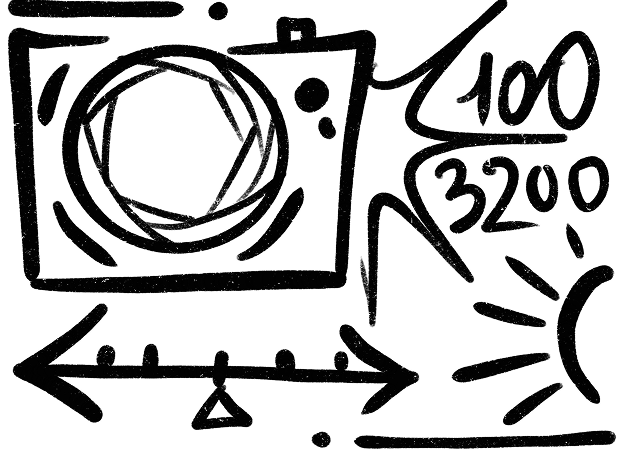
RECIPE FOR PERFECT EXPOSURE
Serving:
One well-balanced shot
Prep time:
From a second to a few minutes
Health benefits:
· Improves image quality
· Achieves artistic effects
· Helps in challenging lighting conditions
INGREDIENTS:
·️ ISO — from 100 to 3200 for sensor light sensitivity
·️ Shutter speed — from 1/1000 to several seconds for motion control
· Aperture — from f/1.8 to f/16 for depth of field and light adjustment
COOKING INSTRUCTIONS:
Adjust camera settings:
To get a sharp image in a well-lit scene, use a low ISO value — around 100.
If the scene is dark, increase sensitivity to ISO 1600–3200, but keep an eye on digital noise.
Choose the right shutter speed:
To freeze fast motion, use a short shutter speed — 1/1000.
To create artistic motion blur, go for a slower shutter — 1/30 or longer.
Set the aperture:
For a bright shot with a blurry background, use a wide aperture — f/1.8.
For sharp focus throughout the frame, use a narrow aperture — f/16.
FINAL TOUCH:
·️ Balance ISO, shutter speed, and aperture to achieve the desired effect
·️ Adjust camera settings according to lighting conditions
Caution:
· High ISO can cause digital noise
· Long exposure without a tripod may blur the shot
· Narrow apertures require extra lighting
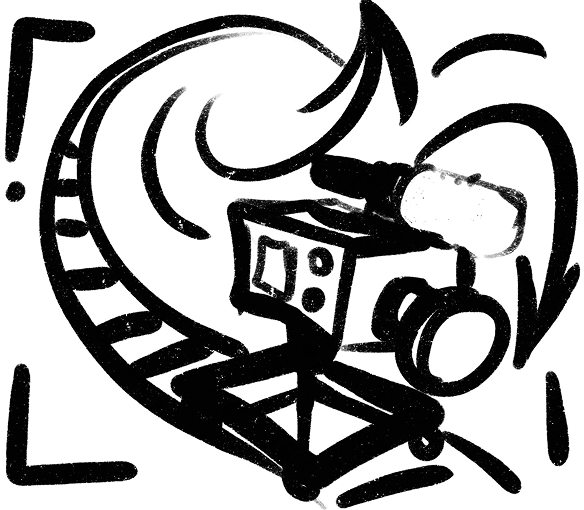
RECIPE FOR PERSPECTIVE: FOCUS & ANGLE
Serving: One properly composed shot
Prep time: The entire filming process
Health benefits:
· Creates the illusion of space and scale
· Affects perception of objects and depth
· Makes scenes more expressive and memorable
INGREDIENTS:
· Focal length — the foundation of visual style
· Wide-angle lenses (16–35mm) to capture space and enhance depth
· Standard lenses (35–50mm) for natural scene perception
· Telephoto lenses (85–200mm and beyond) for spatial compression
· Camera angle to shift object perception
· Golden ratio for balanced object placement
· Forced perspective to create illusions of size and scale
COOKING INSTRUCTIONS:
Adjust focal length:
Focal length, measured in millimeters, influences how objects appear.
Wide-angle lenses (16–35mm) capture more of the scene, making nearby objects appear larger and distant ones smaller — adding depth. For example, at 24mm, a face may look large while the ears seem tiny.
Standard lenses (35–50mm) offer an image closest to what the human eye sees — resulting in natural space.
Telephoto lenses (85–200mm+) compress the background and foreground, making distant objects appear closer.
Choose the right camera angle:
Decide the angle from which the camera views the subject. Each position changes visual perception:
Straight-on (0°): Neutral, distortion-free look
Low angle (20–45°): Makes subjects appear monumental
High angle (-20–45°): Makes characters look small and vulnerable
Apply the golden ratio principle:
To achieve visual balance, divide the frame into 9 equal sections using two vertical and two horizontal lines. Place key elements at the intersections — following the rule of thirds.
Caution:
· Mathematical rules might not work perfectly if scene elements are misaligned
·️ To avoid distortion, carefully calculate both camera angle and focal length
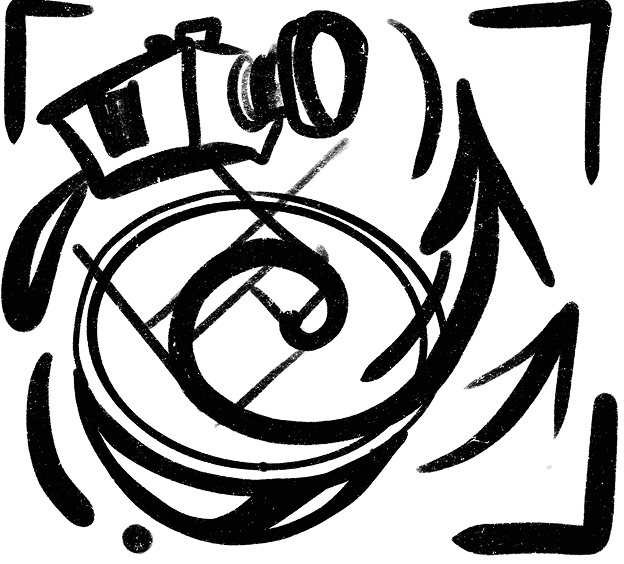
RECIPE FOR PRECISE CAMERA MOVEMENT
Serving:
One cinematic, impactful shot
Prep time:
A second or a few minutes
Health benefits:
· Adds dynamics to the scene
·️ Enhances emotional impact
· Improves visual storytelling
INGREDIENTS:
· 1 camera mounted on a dolly, crane, or drone
· 1 set of mathematical calculations for trajectory precision
· Lens focal length: from 18mm to 100mm for desired effects
· Camera movement speed: from 0.5 m/s to 20 m/s
· Camera movement trajectory
· 1 precise shooting time calculation for synchronization
COOKING INSTRUCTIONS:
Prepare movement dynamics:
Choose the camera movement type: forward-backward, up-down, arc or circular motion.
Determine the required speed for smooth camera movement. Recommended dolly speed — 1 m/s; for drones — up to 20 m/s.
Create a “Dolly Zoom” effect:
Mount the camera on a dolly
Move it backward at 1 m/s
Simultaneously zoom in from 35mm to 70mm
This creates a shifting perspective: the background “pulls away” while the subject remains unchanged
Add complex motion:
Use a crane to lift the camera 2 meters while moving it 5 meters forward
Apply the Pythagorean theorem to calculate the total path
If the shot takes 4 seconds, the average speed ≈ 1.35 m/s
Set drone speed:
The drone flies in a circle with a 30m radius
Full circle time — 10 seconds
Calculate speed using the formula
Adjust the camera tilt for smooth framing
FINAL TOUCH:
· Ensure all camera movements are precisely calculated
· Adjust speed for slow motion or acceleration as needed
· Make sure the operator and stabilization system are ready to shoot
Caution:
· ️Miscalculations can lead to blurry or unbalanced footage
· Dolly zoom requires precise coordination of movement and zoom
· Complex drone paths may need extra test flights
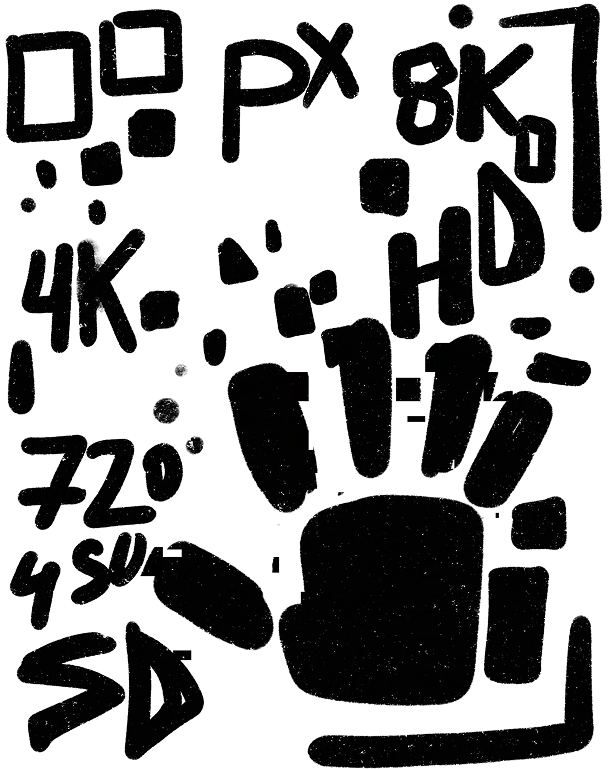
RECIPE FOR THE PERFECT CINEMATIC IMAGE: PIXELS, RESOLUTION & FRAME RATE
Serving:
A crisp, high-quality cinematic image
Prep time:
120 minutes
Health benefits:
· Increases sharpness and detail
· Enhances immersion
· Reduces strain on equipment
· Helps choose the right gear
· Allows accurate planning for SSD storage
INGREDIENTS:
· Resolution (in pixels): Resolution is the number of pixels an image or video is made of. Pixels are tiny dots that form the image — the more pixels, the clearer and more detailed the picture.
· 720×480 (SD – Standard Definition) — basic resolution used in old films and TV before HD
·️ 1280×720 (HD – High Definition) — good for online video and beginner-level shooting, offers sharper image
· 1920×1080 (Full HD) — standard resolution for most modern films and TV shows
· 3840×2160 (4K) — suitable for professional filming and large screens
· 7680×4320 (8K) — used in high-end cinema productions requiring maximum detail
Frame Rate (FPS):
FPS (frames per second) is how many frames are shown each second. The higher the number, the smoother and more realistic the motion.
24 FPS — the cinematic standard for smooth character movement on big screens
30 FPS — common for TV shows and YouTube content
60 FPS — used for dynamic and action scenes
120 FPS — reserved for true fans of The Matrix
COOKING INSTRUCTIONS:
Preparing an Action Scene (Blockbuster Style):
To create an intense, action-packed scene, you need fast motion and sharp visuals. Use 60 FPS for smooth and crisp movement. For image resolution, go with 1920×1080 (Full HD). If you want to add even more detail and dynamism, switch to 3840×2160 (4K)—but be prepared for increased load on your equipment.
Preparing a Wildlife Documentary (Discovery, National Geographic Style):
For slow-motion footage that captures every detail, 120 FPS is perfect. Use 3840×2160 (4K) for high-resolution clarity. If you’re filming in extreme conditions—like sunset or dense forest—7680×4320 (8K) resolution ensures maximum detail so no moment is lost.
Preparing a Classic Drama Film:
To create atmosphere and smooth cinematic flow, use 24 FPS, the timeless standard that preserves the aesthetic of traditional films. Keep the resolution at 1920×1080 (Full HD) for optimal quality without overwhelming your hardware.
Caution:
· The higher the resolution and frame rate, the more powerful your gear must be—cameras, processors, and GPUs for editing. Also, make sure to have enough SSD storage, especially when shooting in 4K at 120 FPS, as even one minute of footage can take up 4–5 GB on an SSD.
· In 4K and 8K, even the smallest details are visible, so lighting and framing must be carefully controlled.
DESSERT: FRAME HARMONY
Serving:
One perfectly balanced shot
Prep Time:
1 minute
Health benefits:
· Strengthens composition
· Optimizes spatial perception
· Evokes the right emotion
· Delivers the proper visual effect on any screen
Ready-Made Desserts:
What we see on screen is shaped not only by the image itself but also by how it’s presented. The aspect ratio plays a key role in setting the tone and conveying the scene’s emotion.
4:3 (1.33:1) — Used for intimate, character-driven scenes; emphasizes closeness and warmth.
16:9 (1.78:1) — The standard ratio for modern television and streaming platforms; ideal for a wide audience and most formats.
21:9 (2.39:1 or 2.35:1) — Perfect for epic films and cinematic immersion; creates scale and a movie-theater experience.
1.85:1 — Common in Hollywood films; adapts well across platforms—from cinema screens to TVs and mobile devices.
9:16 — Mobile-first vertical format; ideal for content consumed on smartphones and social media.
1:1 — Square format for compact visuals; great for platforms where symmetry and space matter.
MENU DEMONSTRATION:
“We live in a society exquisitely dependent on science and technology, in which hardly anyone knows anything about science and technology.”
Carl Sagan, American astronomer and astrophysicist
Even if it seems that science has no place in creativity, that’s far from true. Mathematics, physics, chemistry, and engineering knowledge form the foundation of cinema, influencing its aesthetics and expressiveness. By studying science, we expand the boundaries of creativity and unlock new ways to bring ideas to life. Without it, art would be completely different.
Mathematics defines the rules by which every frame is built, turning cinema into a realm where precision and beauty work together. Analyzing motion dynamics, calculating perspective, and following composition principles make visual storytelling both technically sound and deeply thoughtful. Films become the product of complex equations—where every detail has its place and meaning—and the art of cinema reaches new dimensions of accuracy and harmony.

We illuminate scientific horizons with an intensity that rivals a laser.
Thank you!